Floor preview
Before
Flooring Visualizer
Output quality
Sign in to use credits6 credits will be used for this generation.
LIVE WORKSPACE
Preview your AI room design result
Your image will appear here
Upload an input, adjust the controls, and generate a concept without leaving this page.
AI FLOOR VISUALIZER CASES
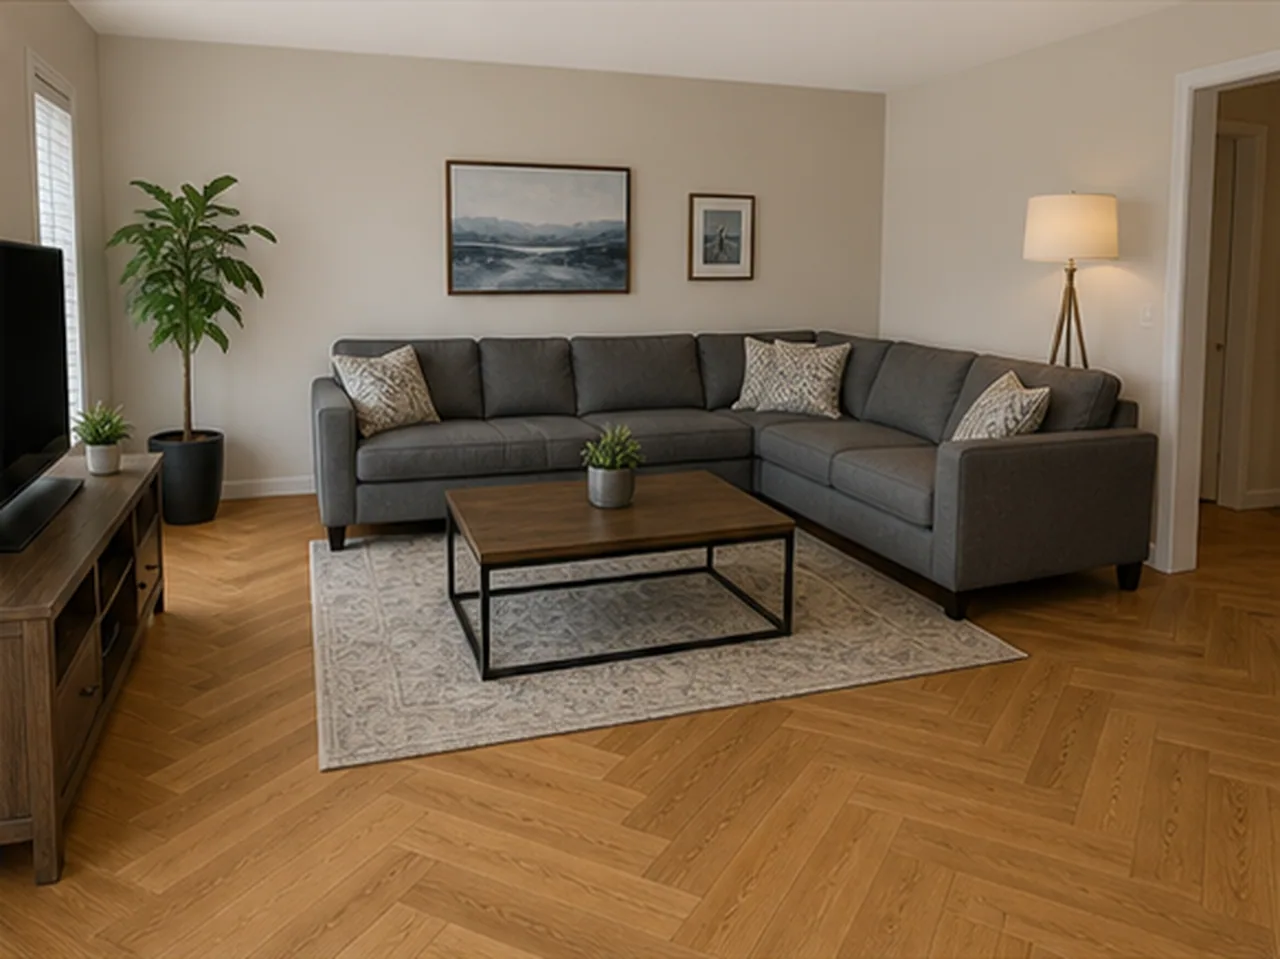
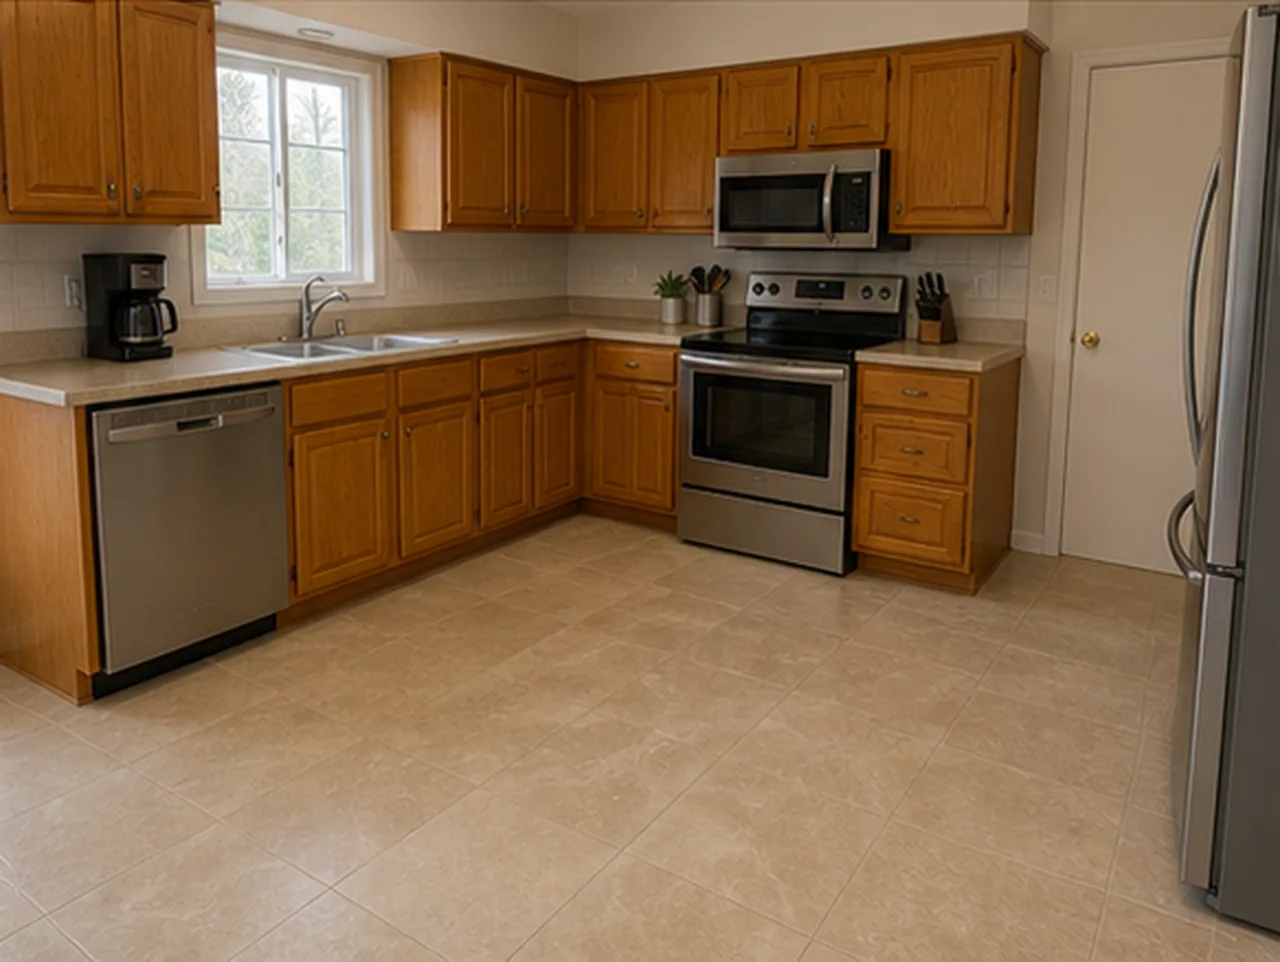
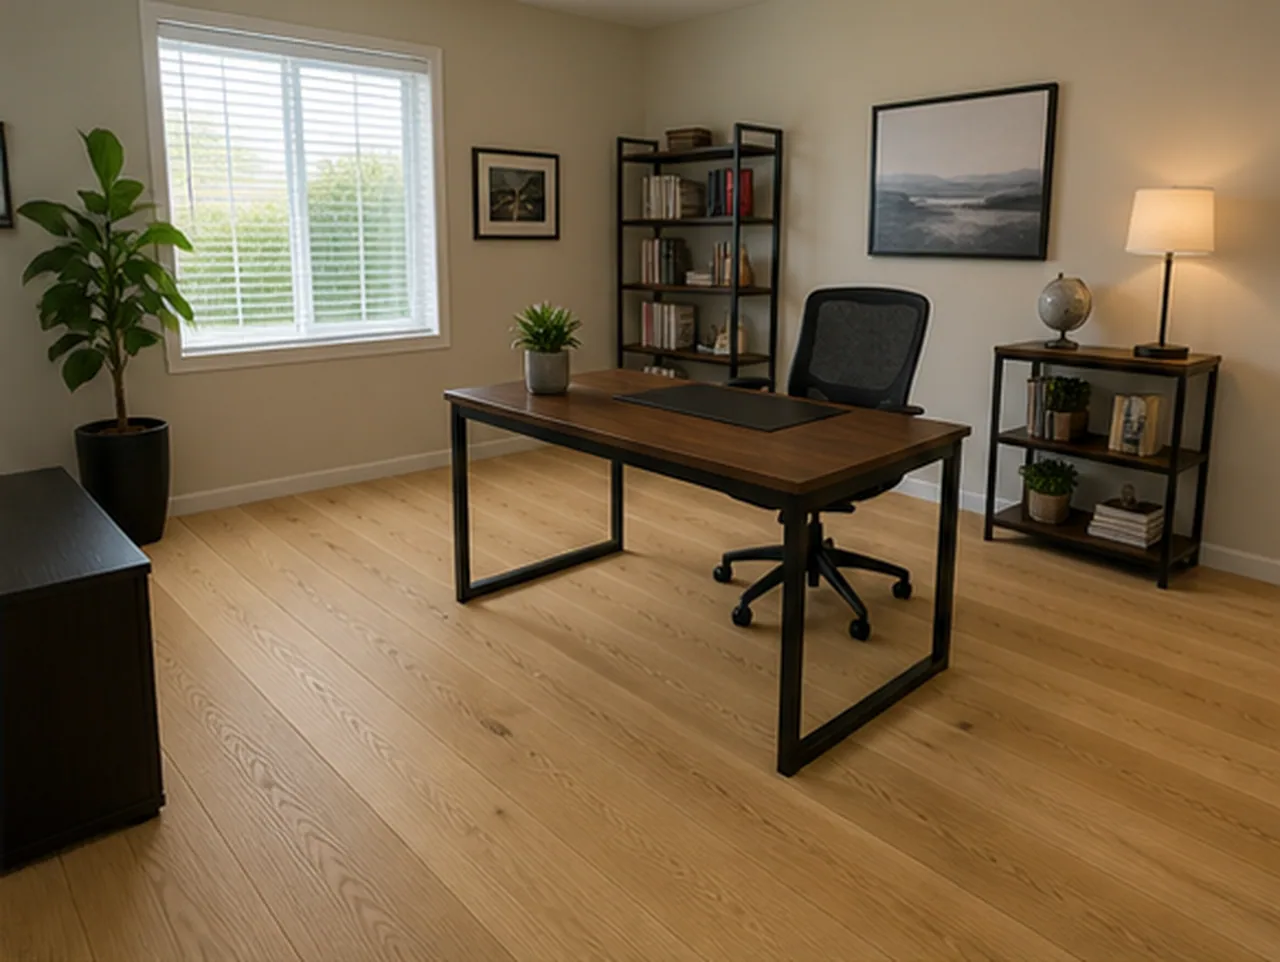
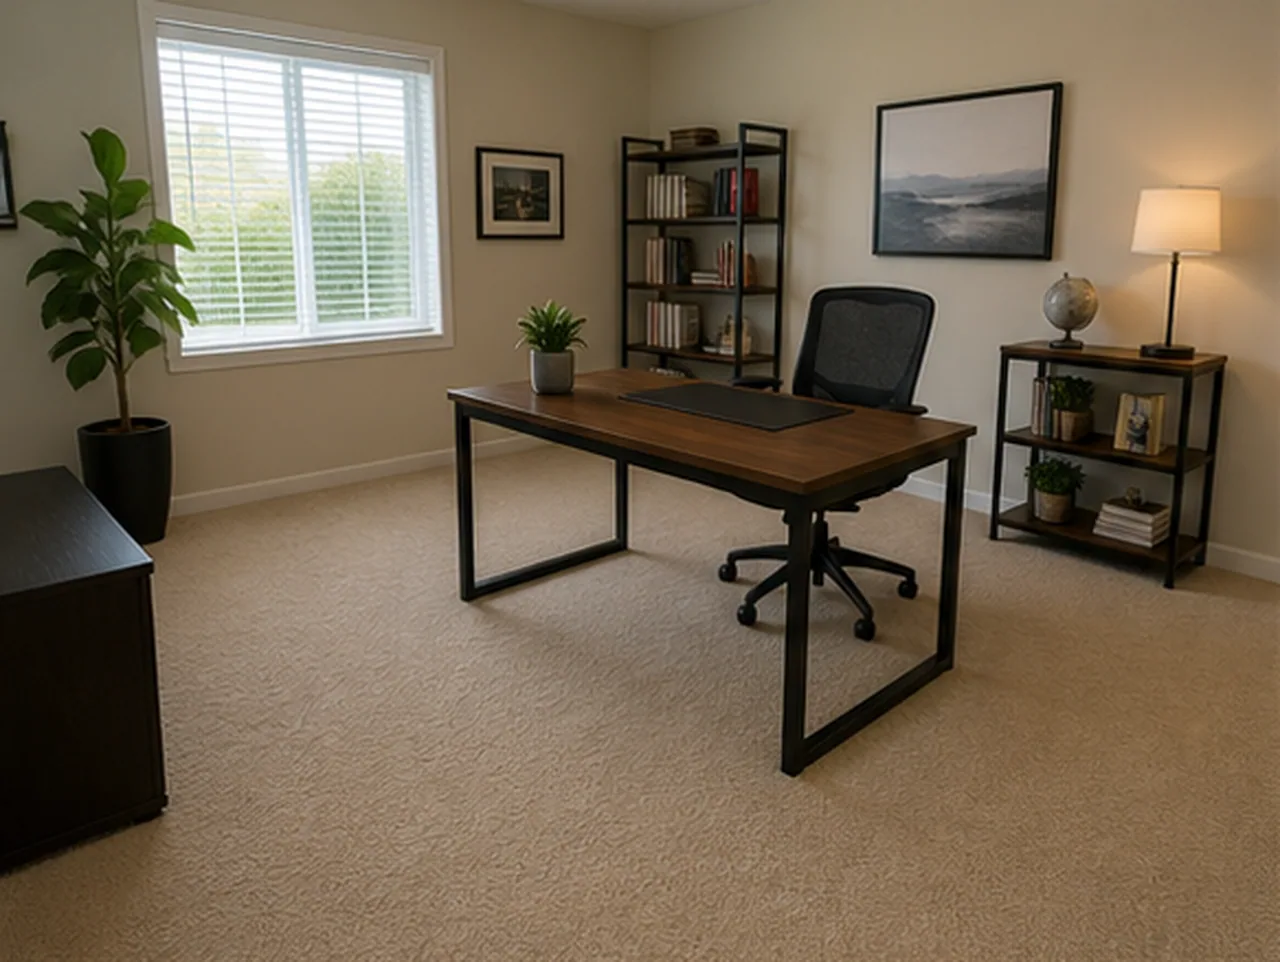
These floor visualizer examples keep the room photo, walls, furniture, windows, and built-ins recognizable so the flooring decision stays separate from a full-room redesign.
Flooring Visualizer
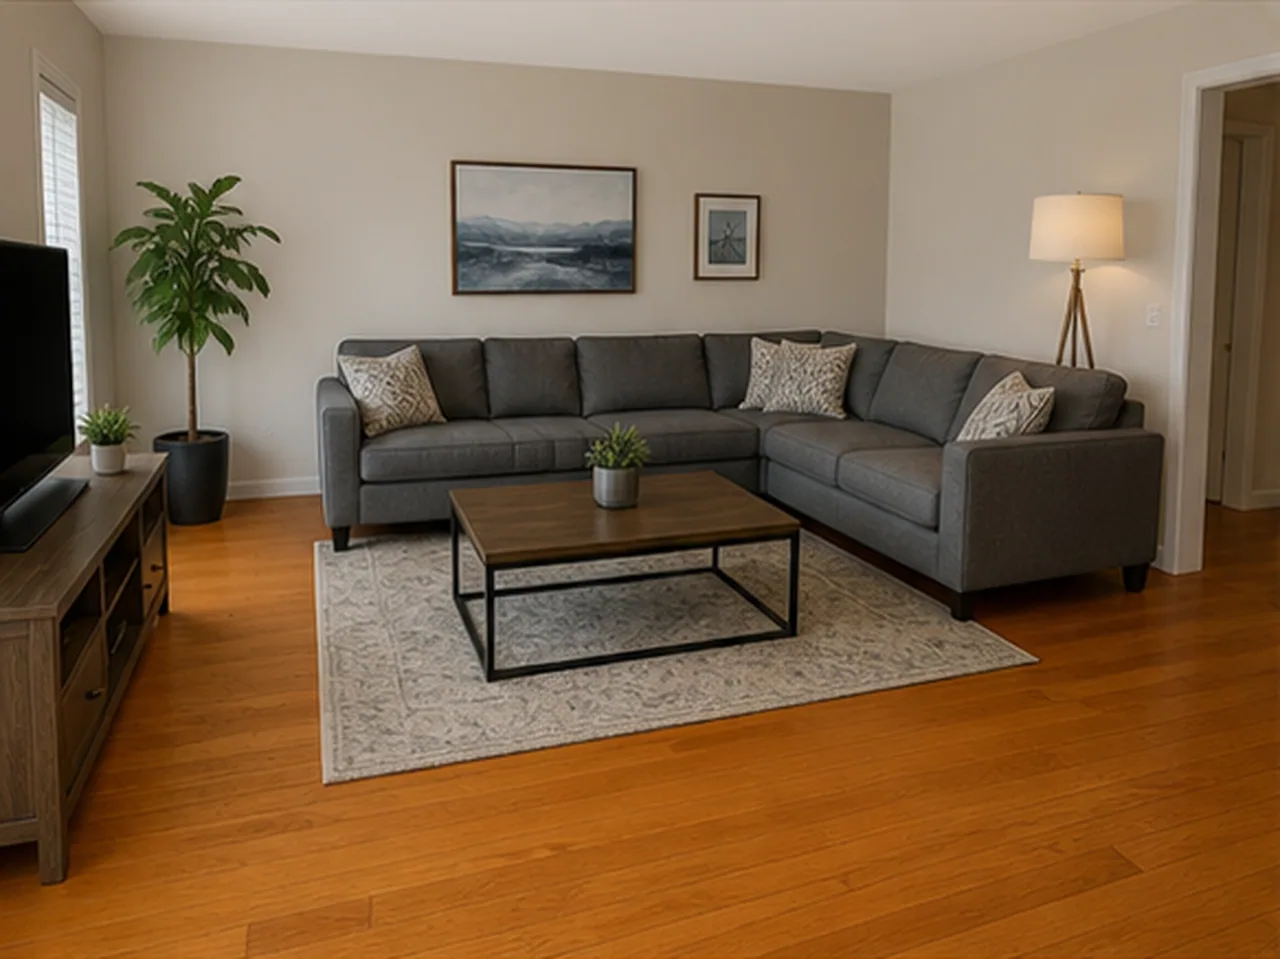
Flooring Visualizer
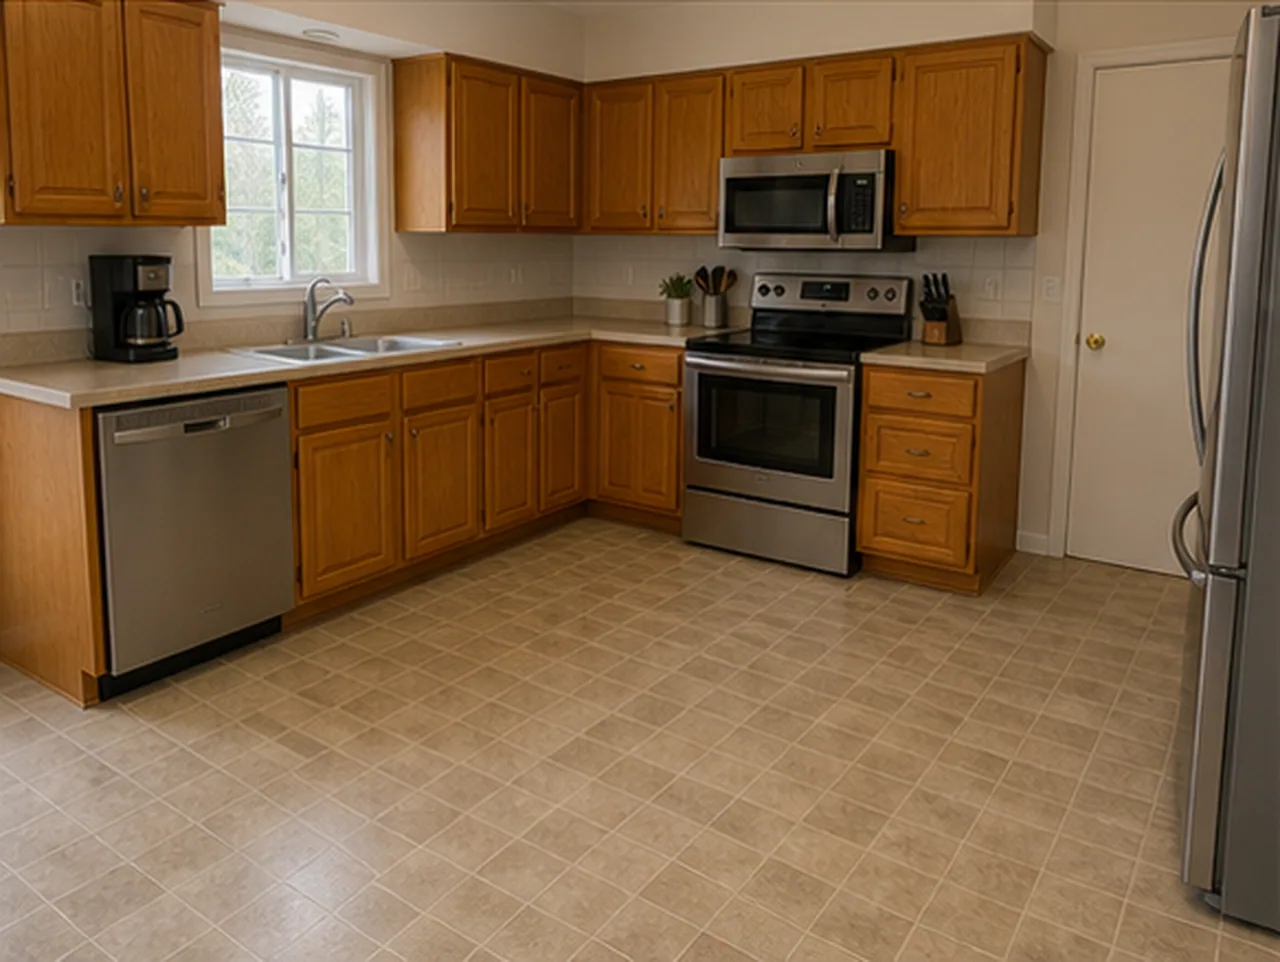
Flooring Visualizer
AI DESIGN FEATURES
Judge Floor Tone At Real Room Scale, Compare How Flooring Direction Guides The Eye, Shortlist A Finish Before A Measured Quote
SCALE AND TONE
A room-photo floor visualizer makes plank tone, tile contrast, and perceived brightness easier to judge beside the existing walls and furniture before product selection or quantity planning. It is a visual planning aid, not a measured specification or installation instruction.
LAYING DIRECTION
Compare room-axis, window-led, entry-led, herringbone, or tile-grid directions to understand visual flow, not to produce an installation drawing or measured layout. It is a visual planning aid, not a measured specification or installation instruction.
VISIBLE-FLOOR PREVIEW
Use the concept to shortlist a material direction while remembering that inferred floor edges cannot confirm area, waste, substrate conditions, or fitting details. It is a visual planning aid, not a measured specification or installation instruction.
HOW IT WORKS
Keep the brief focused on the visible floor so the AI floor visualizer result is easier to compare with physical samples and a measured quote.
Use a clear, evenly lit image where the floor area is visible and not heavily covered.
Start with wood, tile, terrazzo, or concrete, then select the tonal direction you want to compare.
Choose a room-axis, window-led, entry-led, herringbone, or tile-grid direction for the visual concept.
Use the preview to narrow the direction, then confirm product, quantities, substrate, and installation with samples and a professional.
QUESTIONS
Practical answers about the Flooring Visualizer workflow, inputs, results, and downloads.
Upload the actual room, choose a material direction, and compare it before narrowing down physical samples and measured installation details.
CREDITS AND DOWNLOADS
Basic 1K uses 6 credits, Pro 2K uses 18 credits, and Ultra 4K uses 30 credits. Your first Basic preview is watermarked; paid credits unlock downloads. Failed generations return their credits.